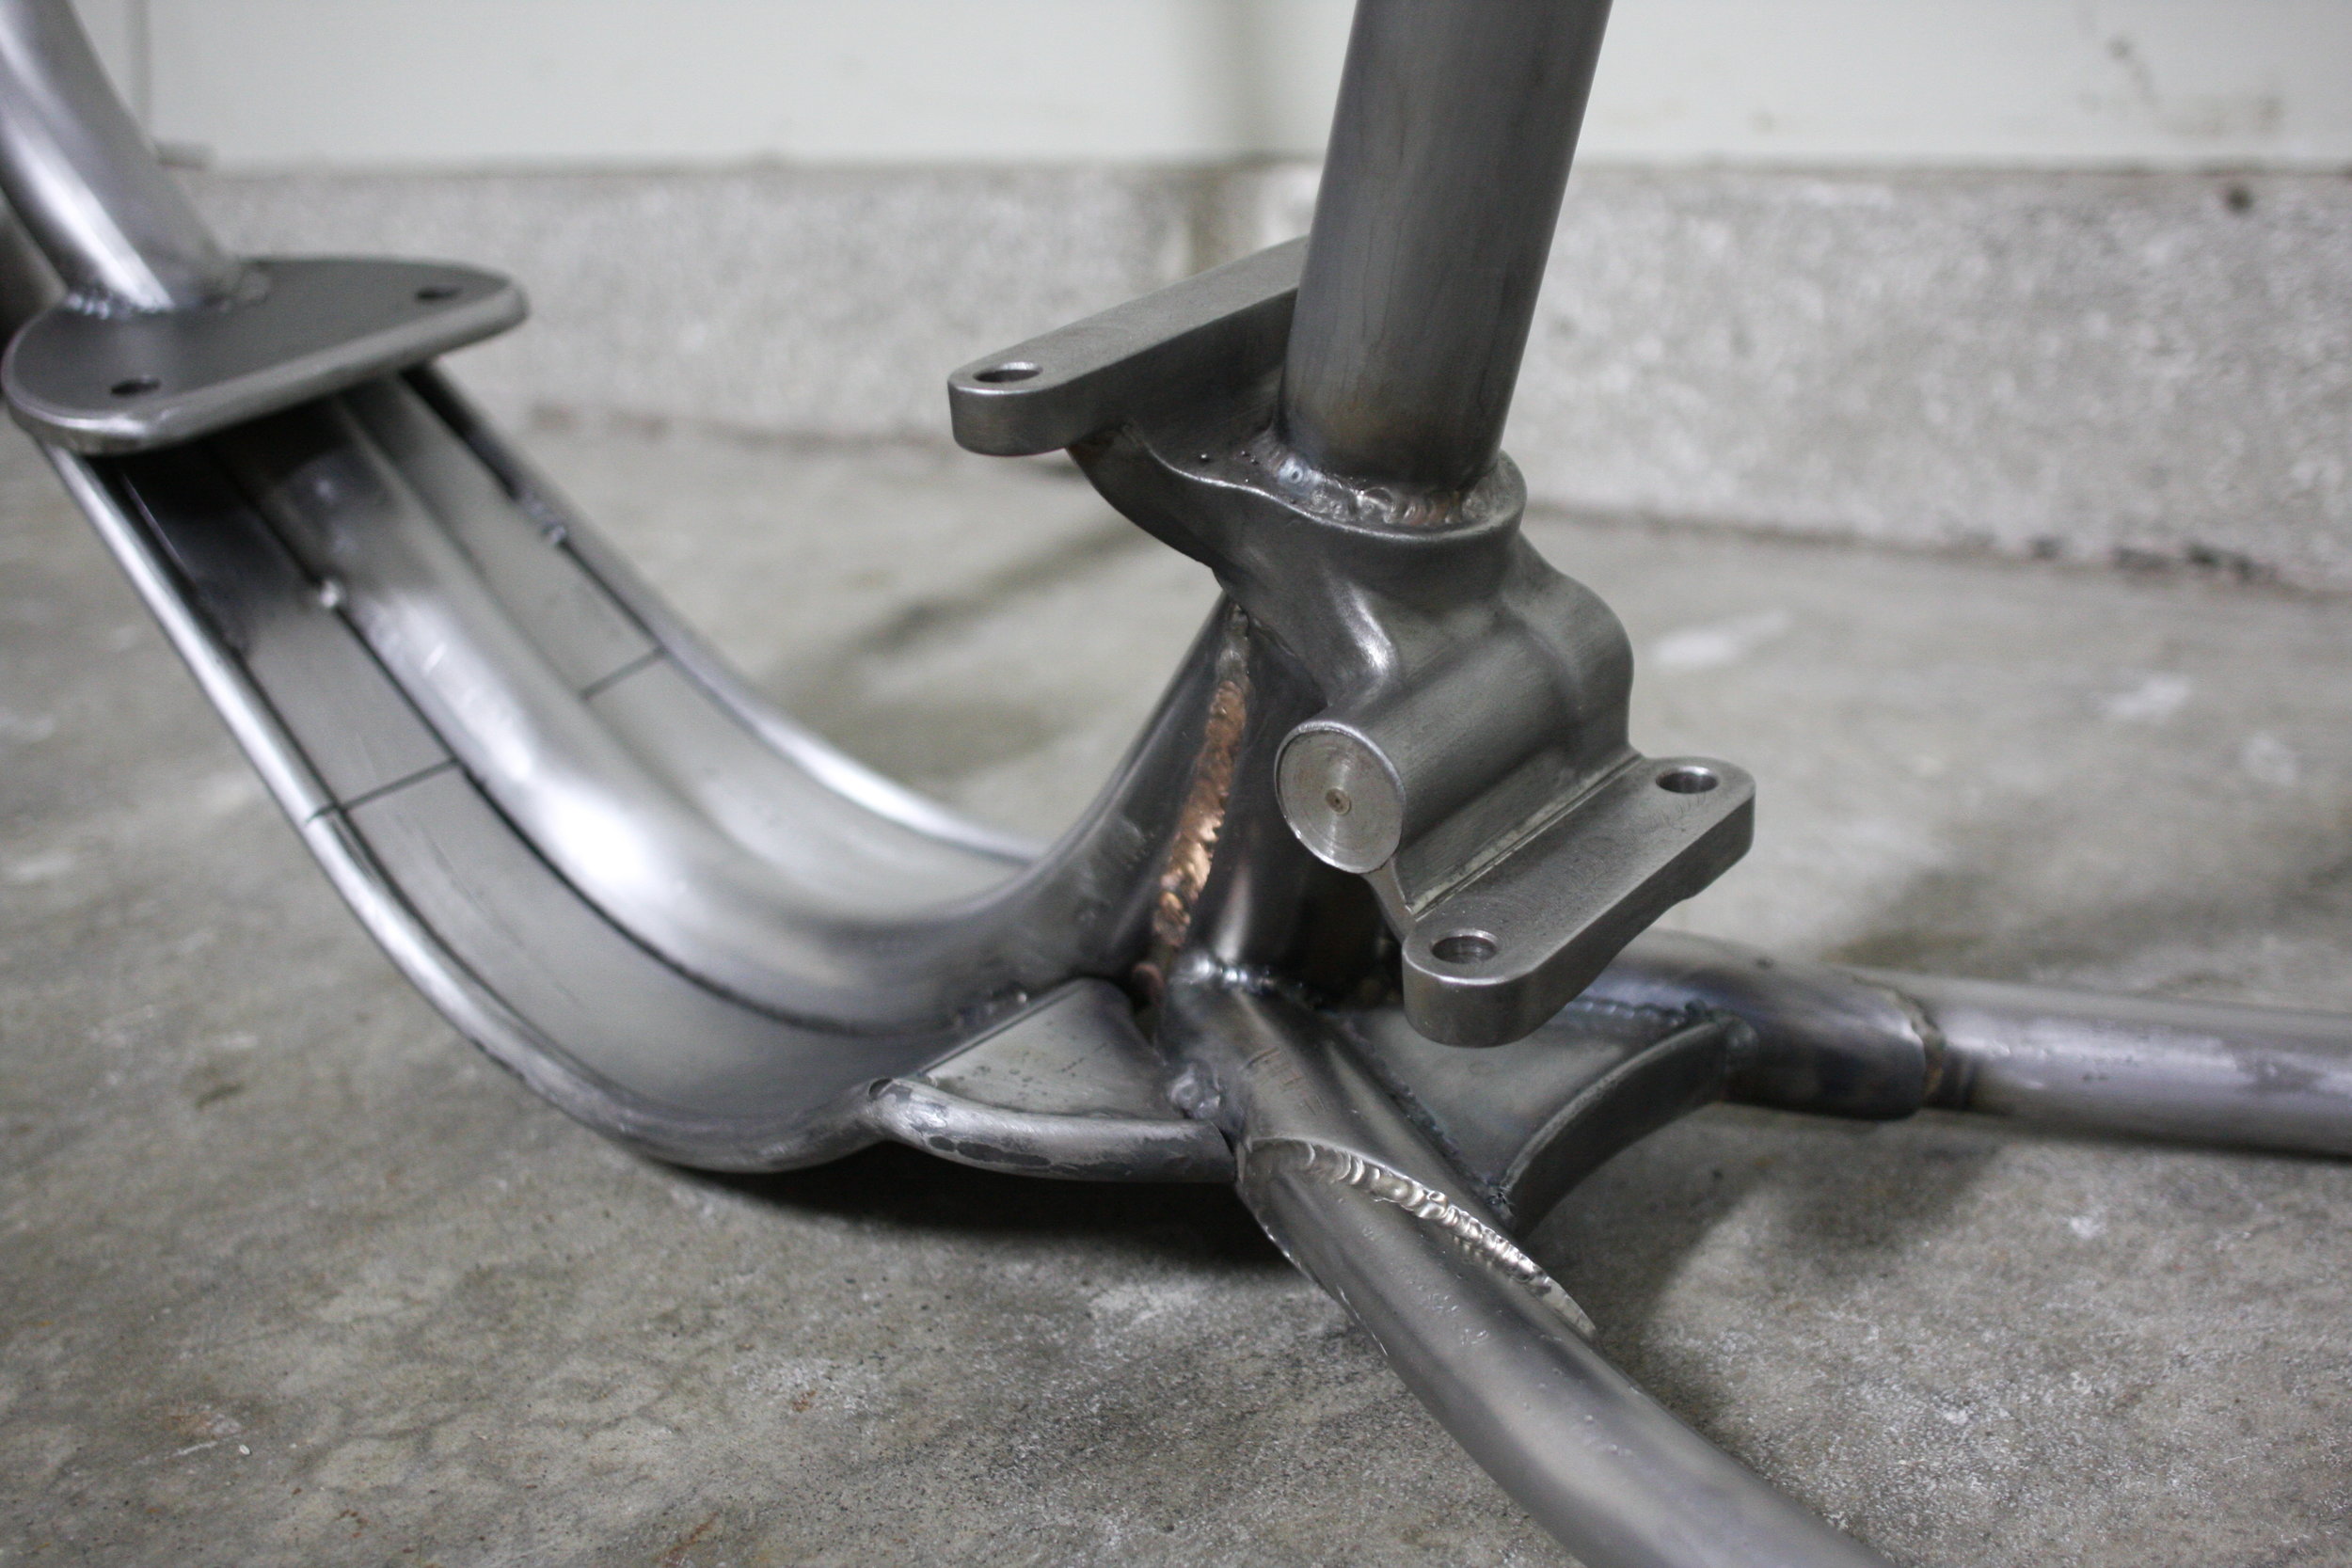
Took a stock kicker arm and welding 1/4" rod around and blended out the welds. Forgot to take a picture before the blending. Loving the way this looks.


Took a stock kicker arm and welding 1/4" rod around and blended out the welds. Forgot to take a picture before the blending. Loving the way this looks.


Very happy with how all the parts are coming together on this build so far. The list of parts to make is getting shorter.


Been excited to get to this part of the build to make this idea happen for my headlight. I love the look of bullet lights tucked in between the springs so i took two of them and welded them together to give them a new look.
Really happy with the outcome.


Metal seat pan with the foam all shaped up for the shovelhead. swooped the back foam on the seat to match up with the swoop on my fender.Should look nice wrapped in leather aganst the paint.


Top engine mount all finished out ready for chrome.


Working on getting things finished before moving onto the next details. Added some rings to the lower mounts on the sissybar to give it some more shape. Basic concept was to match the circle details on the axle plates so its all consistent. Still need to metal finish but all smoothed out for now.


Pulled the bike down off the bench to check how everything is working out so far. Will be finishing off everything that has been done so far before moving onto the next details.


Mid controls all mounted up tight underneath the motor.


After machining all the material, the extra pieces needed to complete the mid controls were cut and shaped and all welded together. Keeping everything natural and curvy shaped to match the other curves on the bike.


On this build i wanted to spend a little extra time and machine some hopefully unique looking material for my controls, shifter, mounts etc. and wanted it to match my springer rear leg shape.
Started out with round stock in various diameters and began by machining two flats somewhat like DD shaft. After i figured out where the material was going to be bent and machined groves so that the outside radius of each piece would have the groove detail facing out.


Received my front end from Jasin Phares of Phares cycle Parts who hand makes these insane springer. He also makes a big twin style narrow springer as well.
These are incredibly well made and im real stoked to have one for this build.


Mocking up the rear wheel and brakes making sure everything is aligned correctly and the seat crossover is in the correct spot to mount the fender to.
Once the wheel was correctly positioned the transmission was put and placed and the oil bag set in for mock up so i can make all the mounts. With the slightly different frame layout, and running a 19" rear wheel, everything fits pretty tight but all should work as normal together.


Some detail shot of the frame im building for my 1969 Shovelhead that i am entering in this years Peoples champ contest for Born Free show 9.
Still needs some welding done and will get lots of mounts and tabs added to the frame once i start mocking up parts but is 98% complete.
Very happy with the flow of this frame and excited to start mock up.


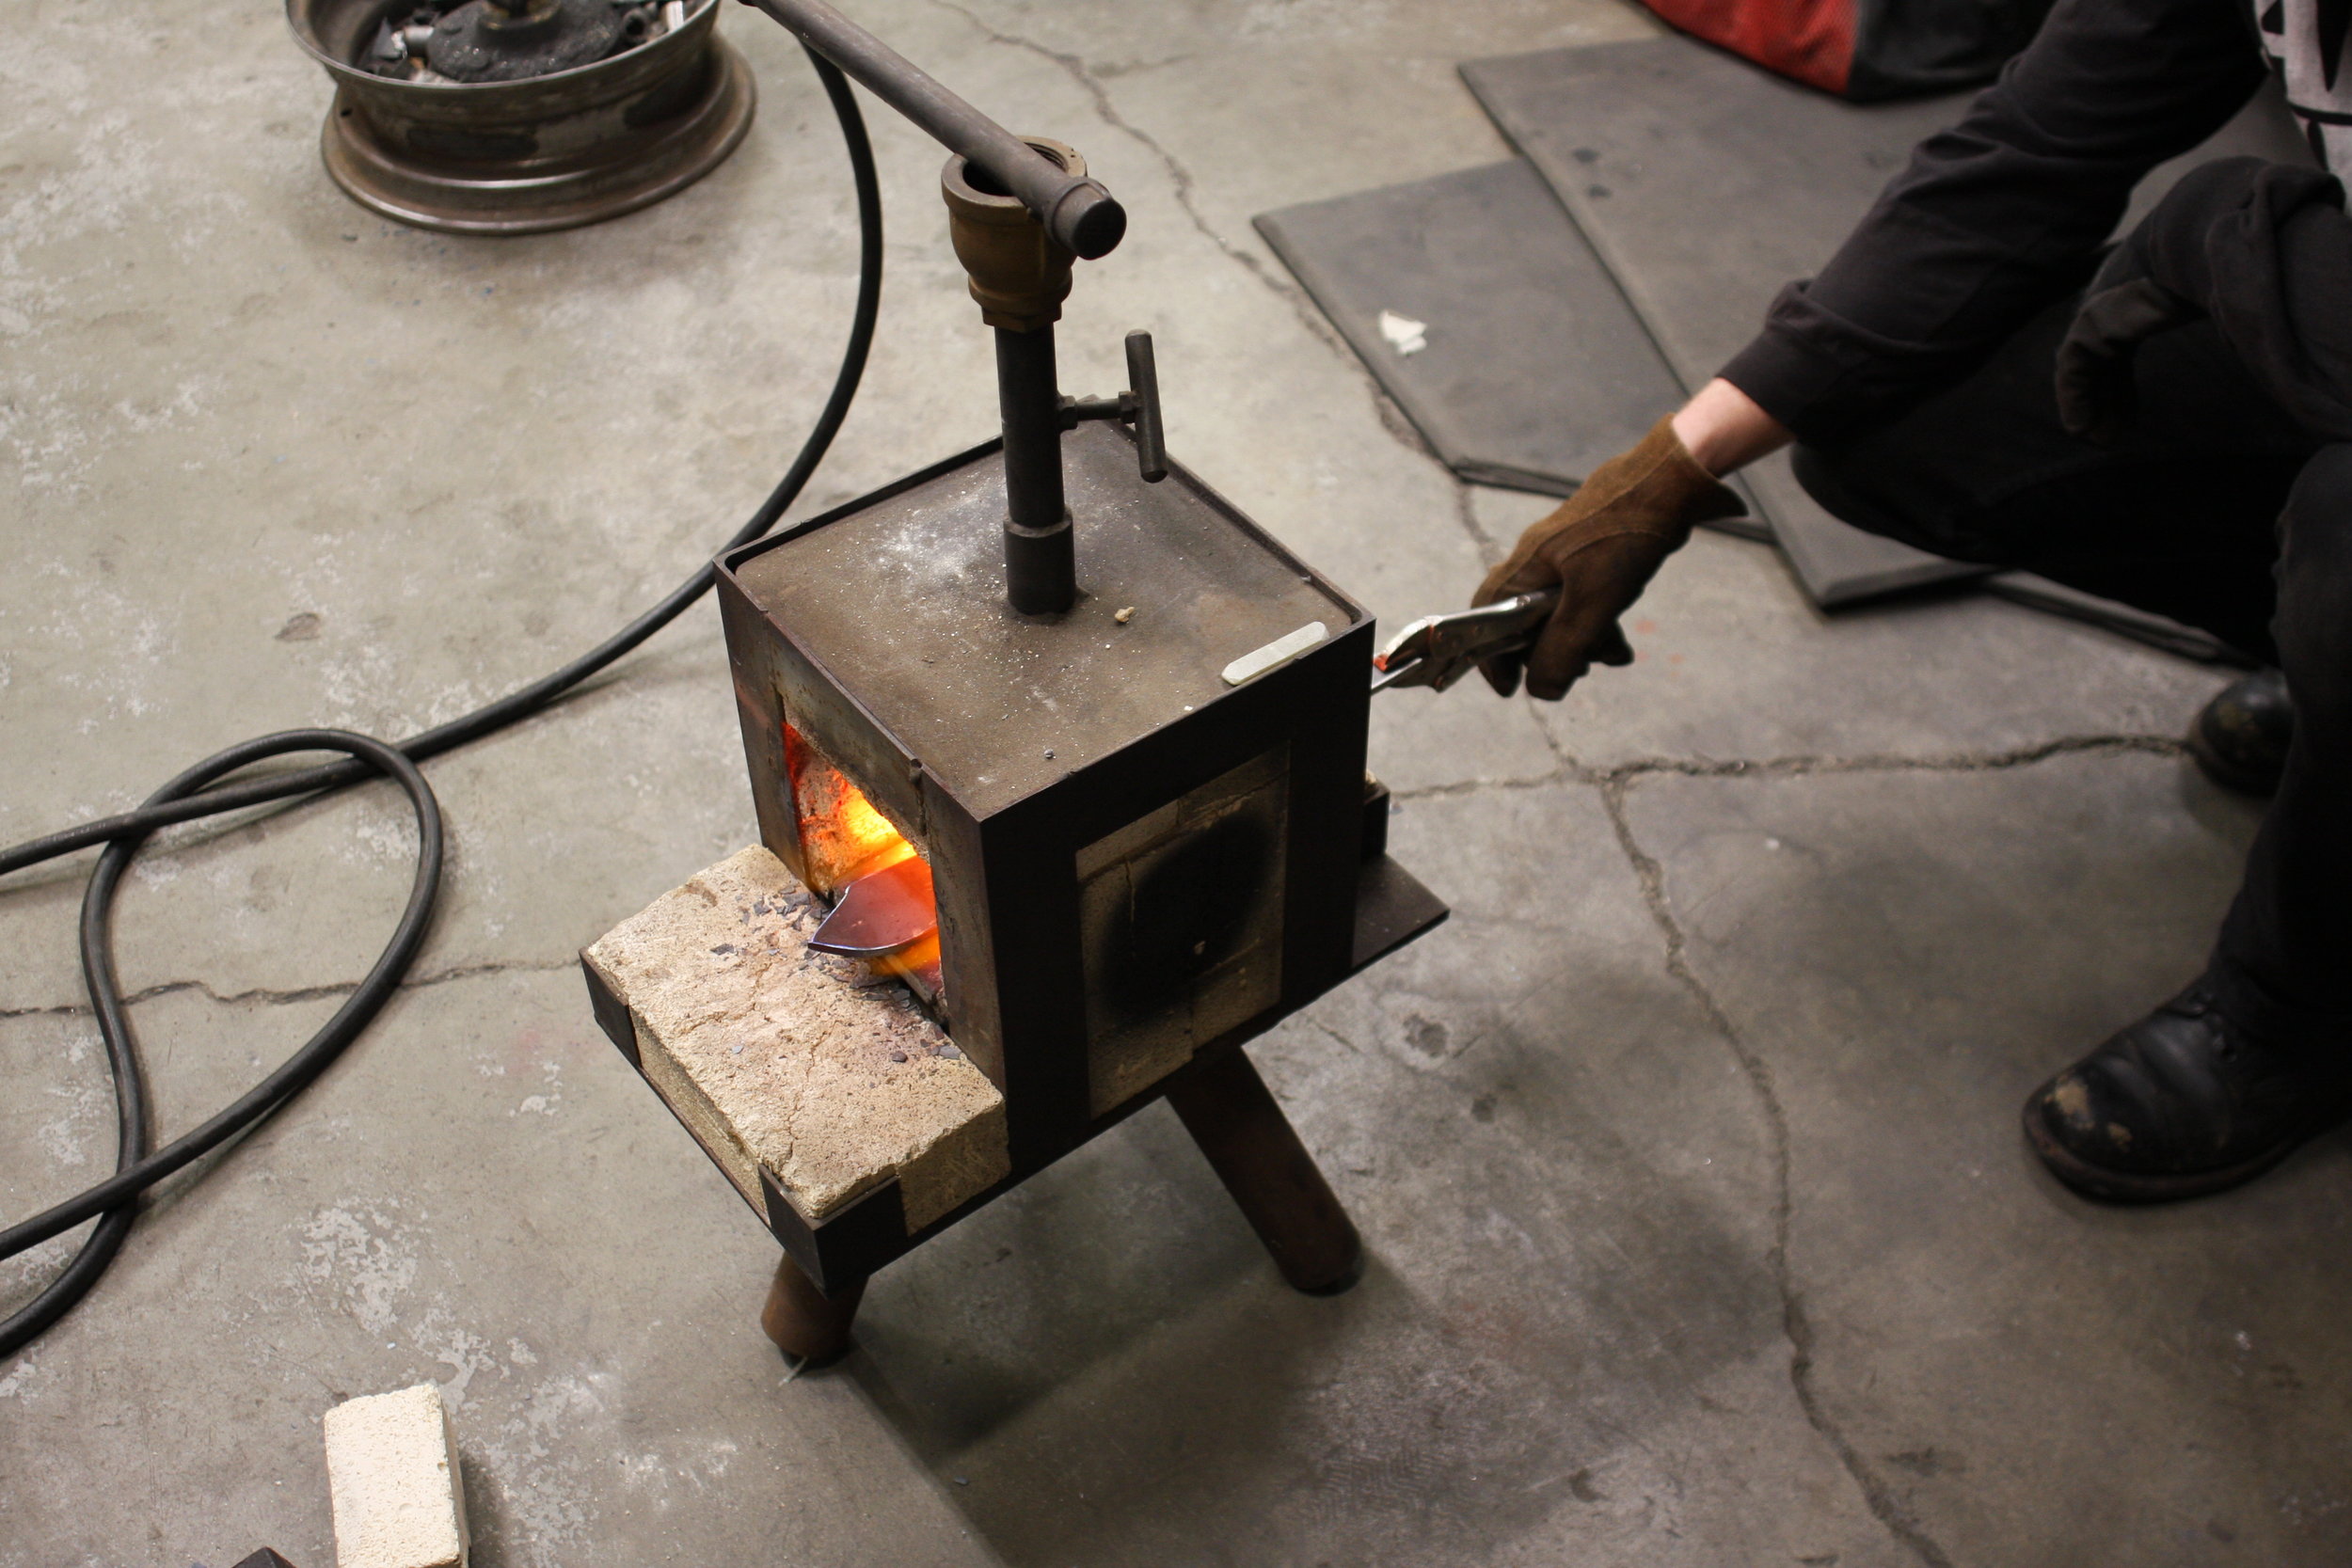
Last major part of the frame to fabricate was the cradle 'gussets'. We used a forge to evenly heat the 1/4" plate steel and then shaped it out over the same die that was used to bend the downtube to ensure the correct shape.
After the gussets were tacked onto either side 7/16th round rod was bent to shape on the edges to give it more detail.
It will all stayed tacked together until i layout the foot controls and where they will mount. Once sorted out it will all get welded together.


Some progress photos of the frame for my 69 shovelhead Peoples Champ entry.


Finally able to make some progress on the frame for my Peoples Champ entry after having to take a few weeks off.
-Finished out the rear lower legs and rear transmission cross member and threaded stanchions. Also started cutting out templates for all the gussets and cut out the neck gussets.
Should be ready to weld up the frame this week and get this thing out of the jig and start making some moves.


Finished this Project the end of June this year just before Bornfree Show.
Started out as a Bone stock 1997 Evo 1200 Sportster that i picked up real cheap because it had a leaking top end.
Used a Haifley Bros hardtail and oil bag and did the rest of the fabrication in house. Custom bars, headlight mount, tank details, seat, sissybar and taillight/plate mount. 4 over shaved and polished front end.
Painted it gloss black with teal acetylene skinny flames.


All fabrication, motor work and paint work done in house by Scotty Dettwiler.
One on my favorite little projects i did as a Christmas present last year. I found a tree with a rotten center and cut off a 6" section. Cleaned out all the orifices inside and drilled a 4" hole out of the top for a glass vase to slide down into to hold the flowers which is always removable to clean.
Some photos of the Bar project finished and installed in its new home.
Really happy with the outcome of this project and would like to have full control over another project similar.


Had the opportunity to build a custom bar to fit in The guys upstairs Pool room. The space was limited so it needed to be a perfect fit to be functional.
3" thick slab of ash. I notched the ash to sneak around the corner wall it is butted up against to give the bar some more definition in the space since its a tight fit. also added some under lighting to shine down on whats underneath.
Steel base with a built in shelf and a few other steel pieces like towel rack.


